The Rise of Designer Glasses
The world of eyewear has undergone a remarkable transformation, evolving from a basic necessity for improved vision to a symbol of style and personality. Designer glasses, once a niche market, have now become a ubiquitous accessory in the fashion industry. This evolution is not just about vision correction; it's about making a statement, expressing individuality, and even showcasing luxury.
Historical Perspective
In the early days, eyeglasses were seen purely as functional items. However, as fashion and personal expression became more intertwined, eyeglasses began to evolve. The 20th century witnessed this shift significantly, with eyewear emerging as a fashion accessory. Designers recognized this potential and started to infuse artistry and branding into their eyewear designs.
Material Innovation
Modern designer glasses are a blend of functionality and aesthetics, using innovative materials like lightweight titanium, flexible acetates, and even sustainable materials. The choice of material not only defines the weight and comfort of the glasses but also contributes to their overall look and feel.
Style and Variety
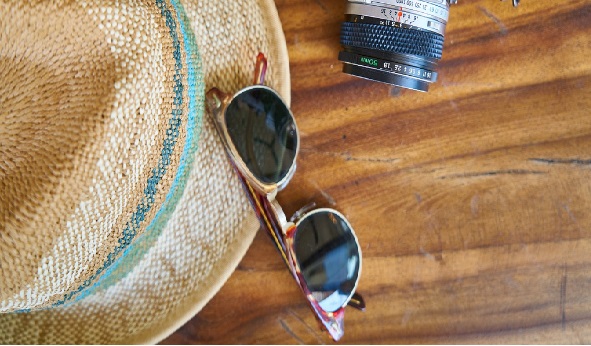
From the bold and avant-garde to the understated and classic, designer eyewear comes in an array of styles. Rimless frames, cat-eye designs, oversized glasses, and vintage-inspired shapes are just a few examples. Each style serves not only different fashion tastes but also various facial shapes, enhancing the wearer's features.
Impact on Fashion and Culture
Designer glasses have transcended their primary function and have become a staple in fashion. Celebrities and fashion icons often use eyewear to complement their outfits, influencing trends and consumer choices. Moreover, eyewear has been used as a tool for character development in movies and literature, symbolizing intelligence, mystery, or a fashion-forward attitude.
The Role of Technology
Advancements in technology have played a crucial role in the design of eyewear. 3D printing, for instance, has opened up new possibilities in custom and intricate frame designs. Augmented reality (AR) is being used in virtual try-on systems, allowing customers to see how different frames look on their faces virtually.
Ethical and Sustainable Practices
With a growing awareness of environmental issues, many designer eyewear brands are now focusing on sustainability. This includes using recycled materials, ensuring ethical production processes, and creating durable products that stand the test of time, both in style and quality.
The Future of Designer Eyewear
The future of designer glasses seems poised for continued innovation and creativity. As technology advances and sustainability becomes more crucial, eyewear design will likely see new materials and methods. Additionally, the integration of smart technology in eyewear, like augmented reality and health monitoring features, is a burgeoning field that could redefine the purpose and functionality of glasses.
Conclusion
Designer eyewear, once a mere aid for vision, has become a significant element of personal style and fashion. It reflects the wearer's personality, complements fashion choices, and even makes a statement about one's values, especially concerning sustainability and ethical production. As technology and fashion continue to merge, the possibilities for what eyewear can represent and accomplish are limitless, making it an exciting accessory for both fashion enthusiasts and tech aficionados alike.